Step-by-Step Guide to DIY Concrete Repairs for Driveways
MB
Introduction to Concrete Driveway Repairs
A cracked or damaged driveway can be an eyesore and potentially a safety hazard. Fortunately, many concrete driveway repairs can be tackled as a DIY project. With the right materials and a bit of elbow grease, you can restore your driveway to its original condition and enhance your home's curb appeal.
Before starting, assess the damage to determine the best repair method. Common issues include surface cracks, potholes, and uneven slabs. Each requires a slightly different approach, so understanding the problem is crucial for successful repairs.

Gathering Your Materials
Before diving into the repair process, gather all necessary materials and tools. Here's a list of what you'll typically need:
- Concrete mix or patching compound
- Wire brush or broom
- Chisel and hammer
- Trowel
- Sealer
- Paintbrush or roller
Once you have everything ready, you can move on to preparing the area for repair.
Preparing the Damaged Area
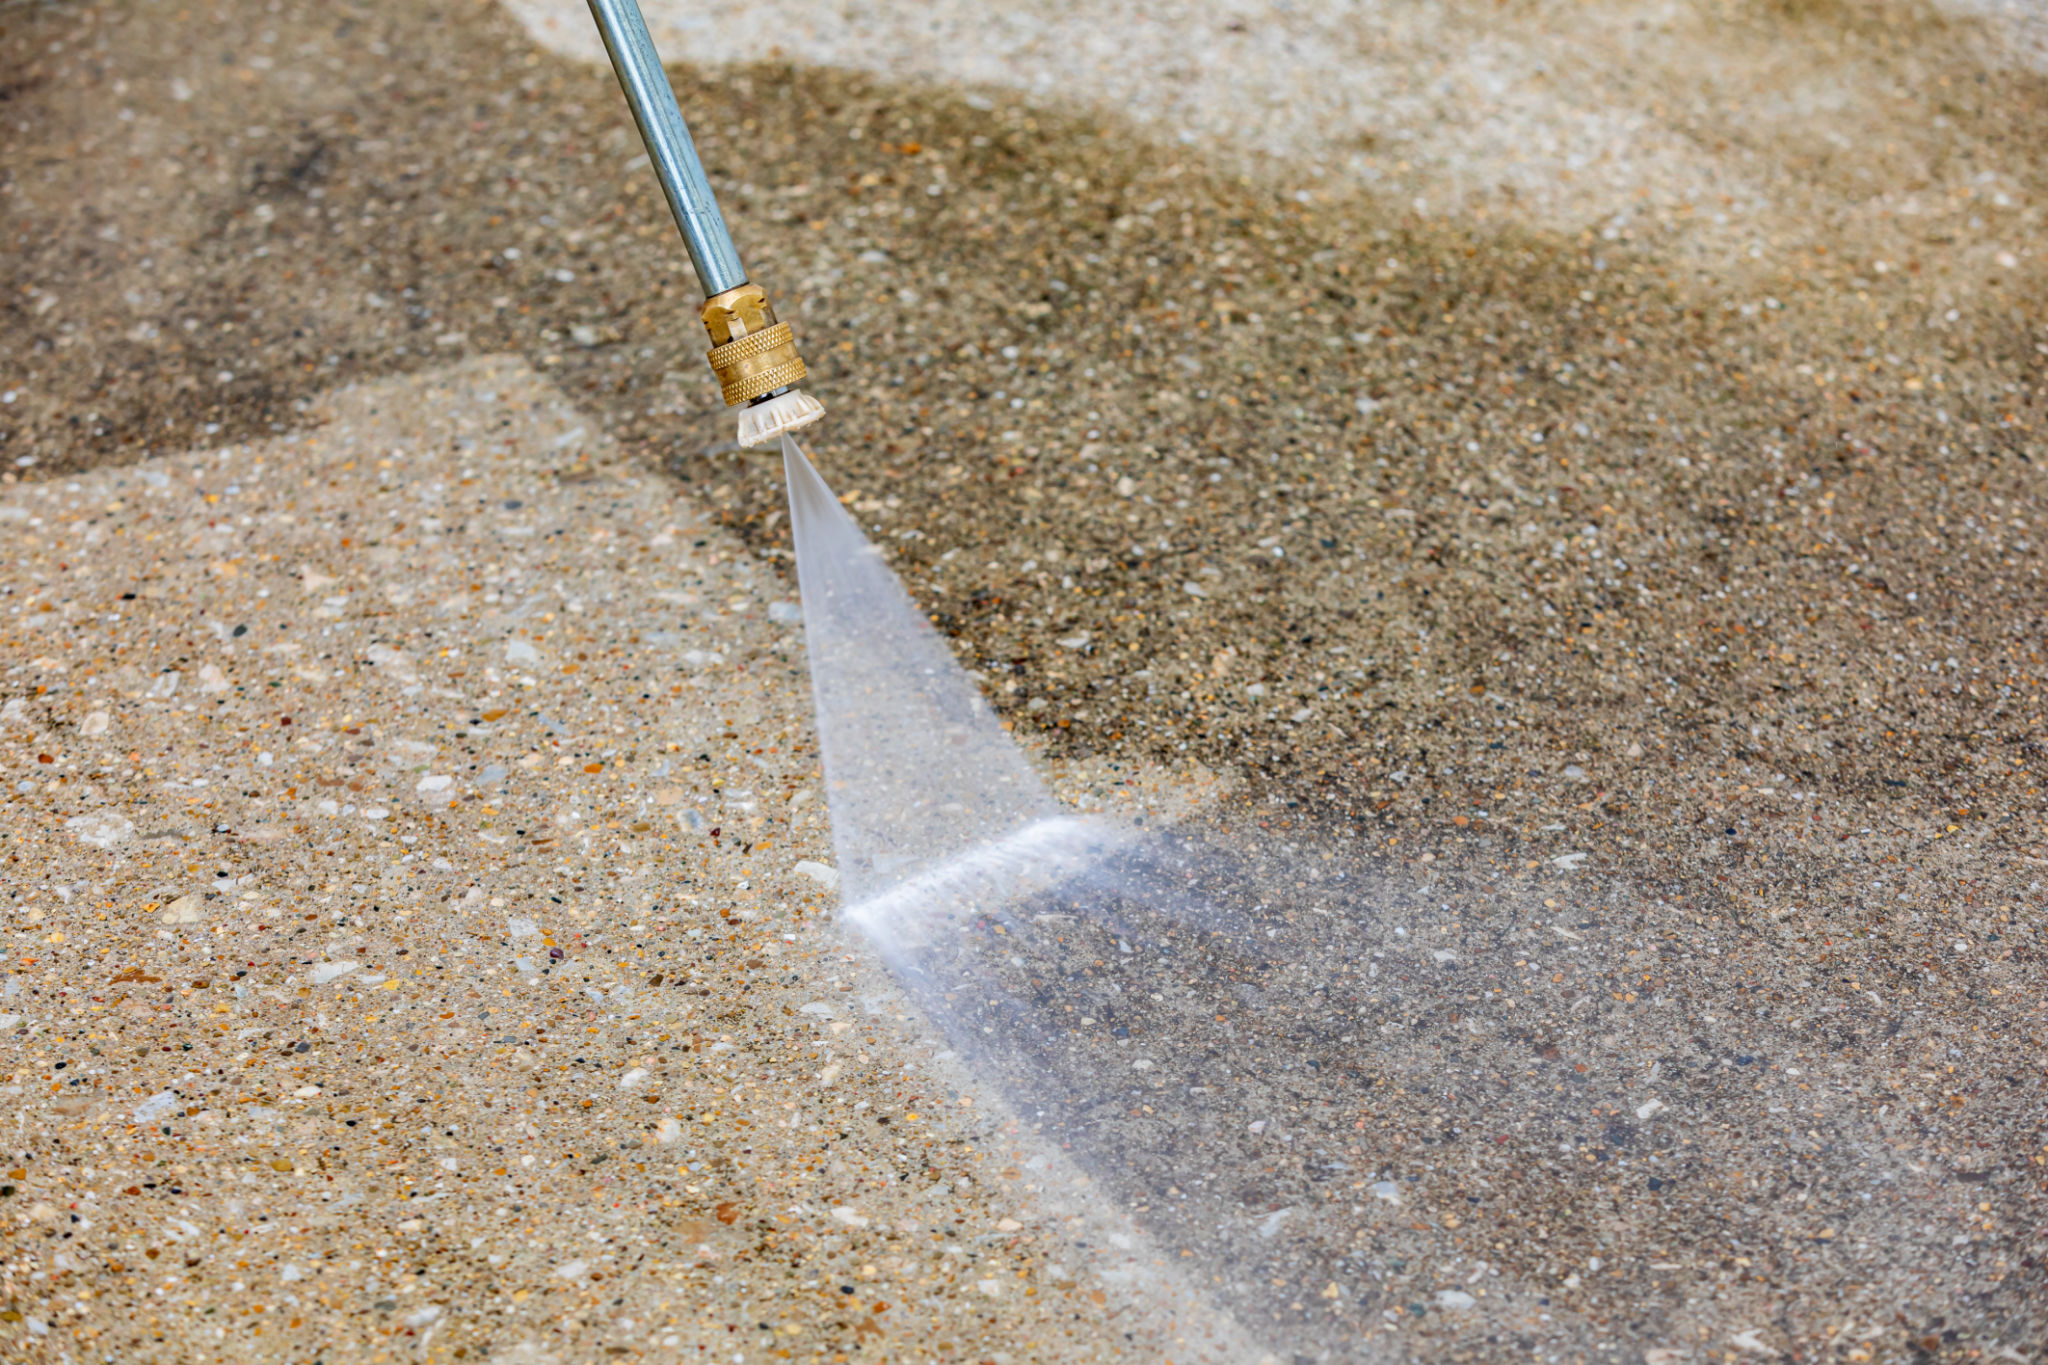
Begin by cleaning the damaged area thoroughly. Use a wire brush or broom to remove dirt, debris, and loose concrete. This step is important because a clean surface ensures that the repair material adheres properly.
If there are any large loose pieces of concrete, use a chisel and hammer to remove them. Be sure to wear safety goggles and gloves during this process to protect yourself from flying debris.

Repairing Surface Cracks
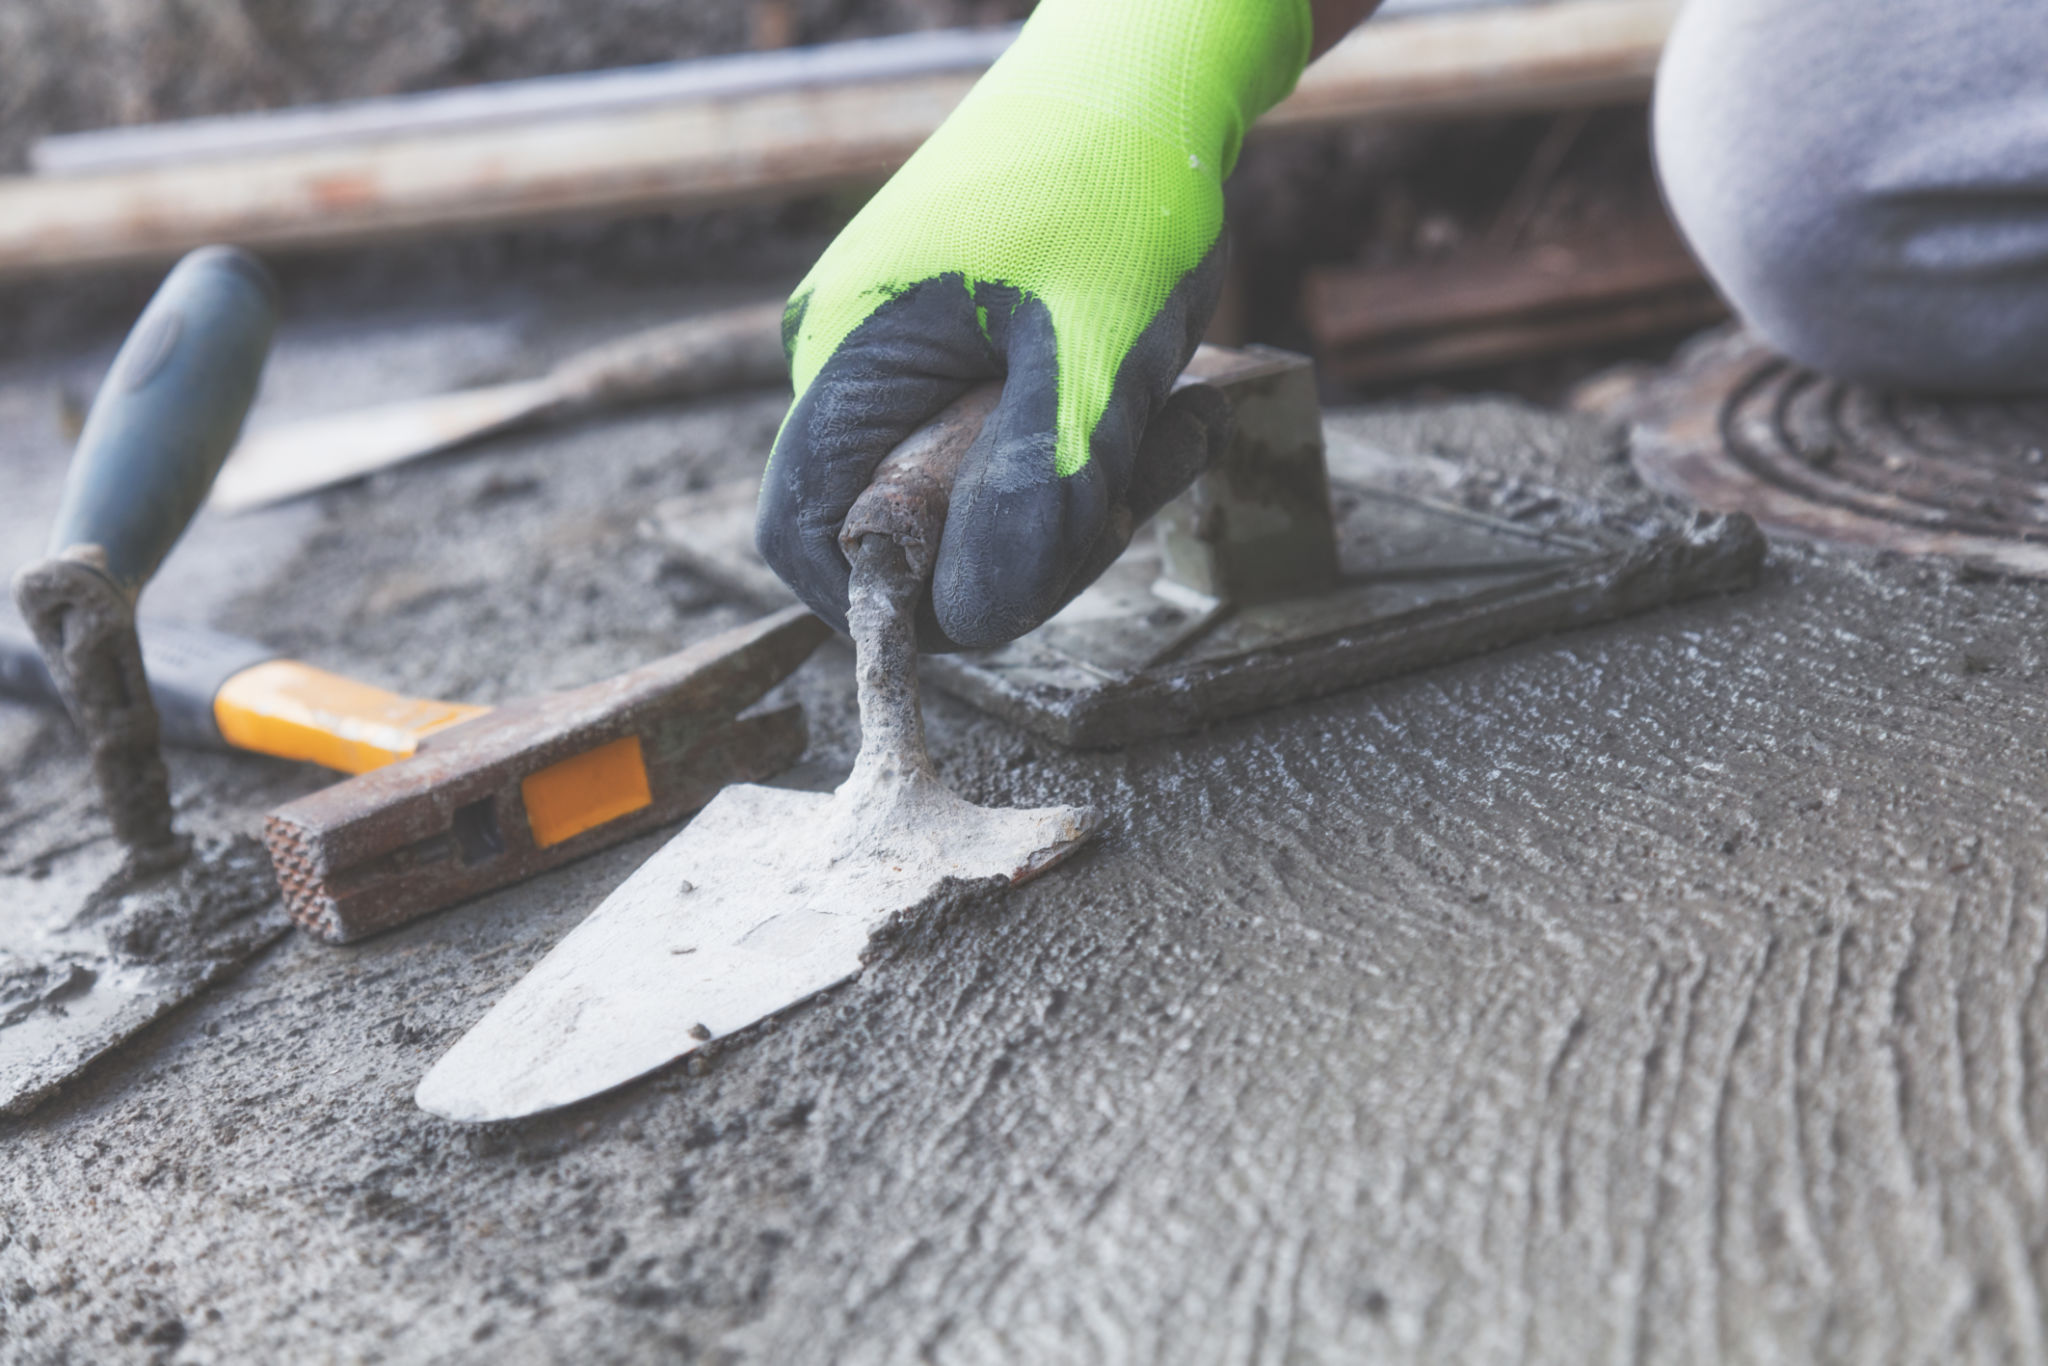
For small surface cracks, you can use a concrete patching compound. Apply the compound with a trowel, making sure to fill the crack completely. Smooth the surface with the trowel and allow it to dry according to the manufacturer's instructions.
If the cracks are larger, it may be necessary to use a more robust concrete mix. In such cases, mix the concrete according to the instructions and apply it to the crack, ensuring that it's packed tightly.
Fixing Potholes and Larger Damages
Potholes require a bit more effort but can be repaired effectively with a premixed concrete patch. First, make sure the edges of the pothole are clean and defined using your chisel and hammer. Then, fill the hole with the concrete patch and level it off with a trowel.

For larger areas of damage, you might need to create a form around the area to contain the fresh concrete until it sets. Once poured, smooth it out and ensure it's level with the surrounding surface.
Sealing Your Repairs
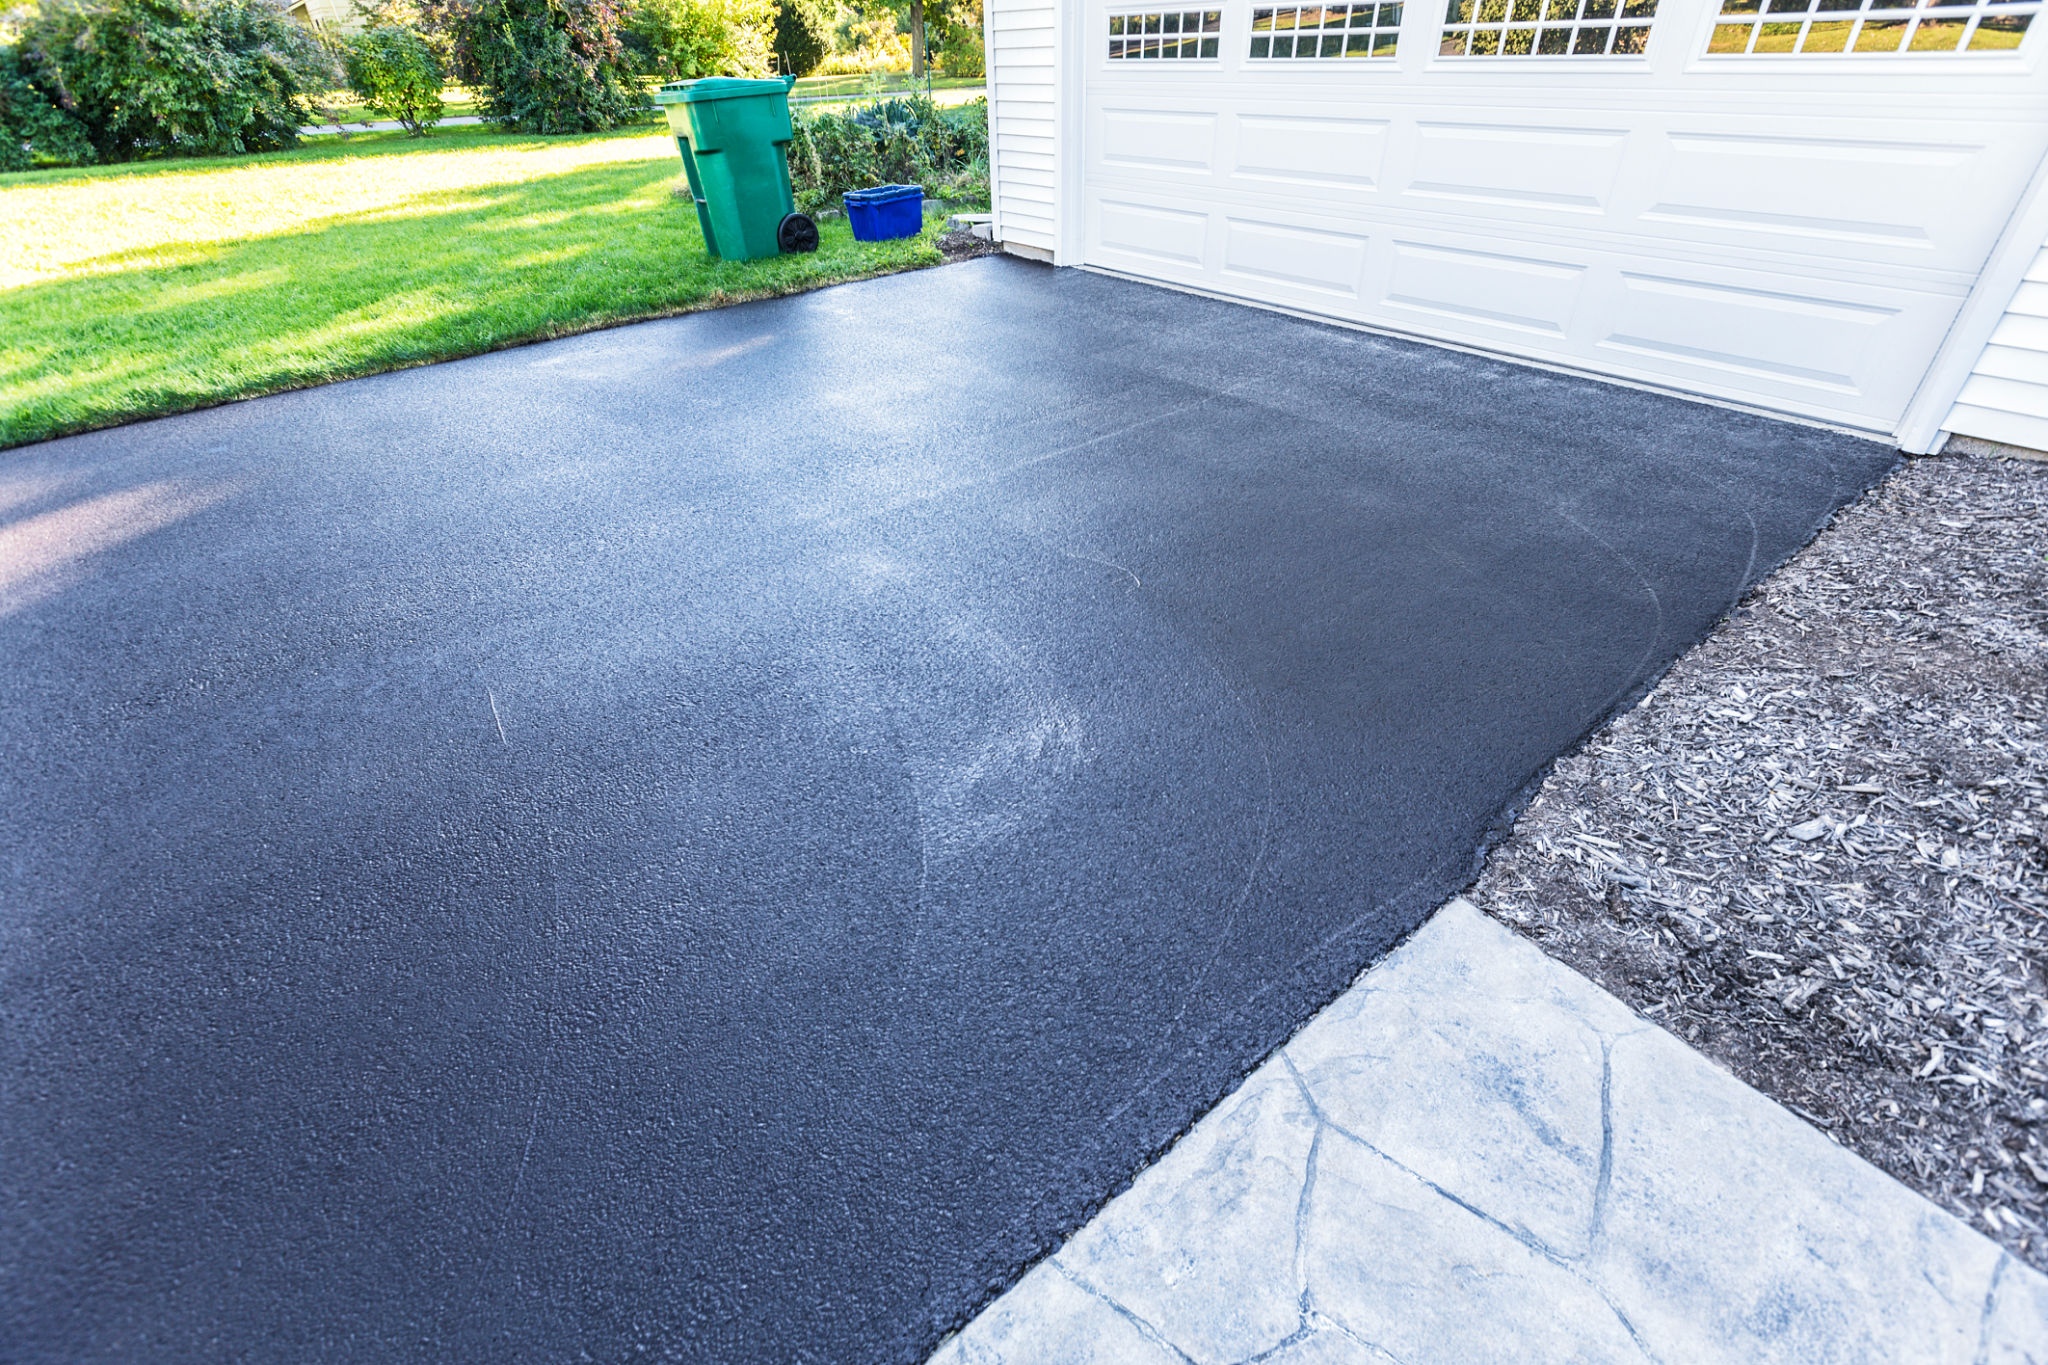
Once you've completed your repairs and allowed adequate drying time, it's essential to seal the repaired areas. Use a high-quality concrete sealer applied with a paintbrush or roller. This step helps to protect your repairs from future damage caused by water or weather conditions.
Sealing not only extends the life of your repairs but also gives your driveway a finished look.
Conclusion
Tackling concrete driveway repairs on your own can be both rewarding and cost-effective. By following these steps, you can ensure a successful repair that enhances both the functionality and appearance of your driveway. Remember, regular maintenance is key to preventing future damage, so keep an eye on your driveway's condition over time.

